New Wool at the Wrist: Reviving a Winter Coat Without Replacing It

Photo by Photo by Caique Nascimento on Unsplash on Unsplash
November in Beccles has a way of finding the weak points in a wardrobe. The zip that sticks, the lining that sighs at the hem, and — almost every time — the cuffs. You pull a favourite coat out of the cupboard, give it a shake, and there they are: thinned at the edge, maybe a little shiny, maybe split right where your hand meets the world.
A lot of us would start browsing for a replacement. But before you do, look at the rest of the coat. Is the cloth sound? Are the shoulders still sitting properly? Does the lining have life left in it? If the answer is mostly yes, the cuff is not a death sentence. It’s a small, specific area of damage — and it can be repaired in a way that feels less like concealment and more like a considered second act.
The wrist is where a coat tells the truth
Cuffs take a disproportionate amount of punishment. They brush against door handles, bike grips, car keys, dog leads and the counter at the till. They get damp, then dry, then damp again. On a wool coat, that daily friction gradually wears the nap and loosens the weave. The result is often a cuff that looks tired long before the body of the coat does.
That’s actually good news. A cuff is a manageable unit: small enough to handle at the kitchen table, shaped simply enough to copy, and visible enough to be worth doing well. It is also a good place to practise the kind of slow alteration that keeps clothes in use rather than pushing them down the charity rail.
A donor scarf, chosen with care
For this repair, I like felted wool from a charity-shop scarf. Felted wool is stable, dense and reluctant to fray, which makes it forgiving for a first attempt. It also has a slightly matted surface that sits comfortably next to an older coat rather than looking suspiciously new.
Look for a scarf with a good hand — soft enough to fold around the wrist, firm enough not to collapse. Avoid anything thin and floppy, and be wary of shiny synthetics that will behave differently under the needle. A pure wool or wool-rich scarf in a colour that either matches the coat closely or deliberately contrasts is ideal. In Beccles, the charity shops around Blyburgate and Hungate are good hunting grounds, and a scarf gives you plenty of fabric for two cuffs plus a practice piece.
If the scarf smells strongly of perfume or storage, air it for a few days before cutting. If the wool is very loose, you can full it gently by hand in warm water, but don’t overdo it. The aim is a dense, steady cloth, not a piece of board.
Weight, drape and a sensible interfacing
The biggest mistake in a cuff transplant is choosing donor fabric that is too thick or too stiff. A heavy scarf might look lovely on the hanger, but once it is folded into a cuff it can feel clumsy and refuse to sit flat. Hold the scarf next to the existing cuff. Does it bend in a similar way? Does it spring back too hard? A slight difference in colour is easy to forgive; a big difference in weight is not.
Interfacing is where a little knowledge pays off. Felted wool already has body, so you rarely need anything heavy. A lightweight woven fusible interfacing, the sort used for shirt collars, can stop the cuff stretching without turning it into cardboard. Press a sample first: fuse a scrap of donor wool to a scrap of interfacing, let it cool, then bend it. If it cracks or feels rigid, go lighter. If the wool is already very stable, you may be able to skip interfacing altogether and simply stay-stitch the cut edges.
The pattern you already own
Before you unpick anything, take photographs. Note how the cuff is folded, where the seam sits and how the lining meets the sleeve. Then remove one cuff carefully with a seam ripper, keeping the old piece intact. That old cuff is your pattern. Press it flat, trace around it onto paper, and add a generous seam allowance — about 1 cm is sensible for a first attempt.
Cut two new cuffs from the donor scarf, paying attention to the nap or pattern direction. If the scarf has a clear right side, make sure both cuffs run the same way. Mark the wrong side with a chalk dot so you don’t lose your place.
Sewing the new cuff
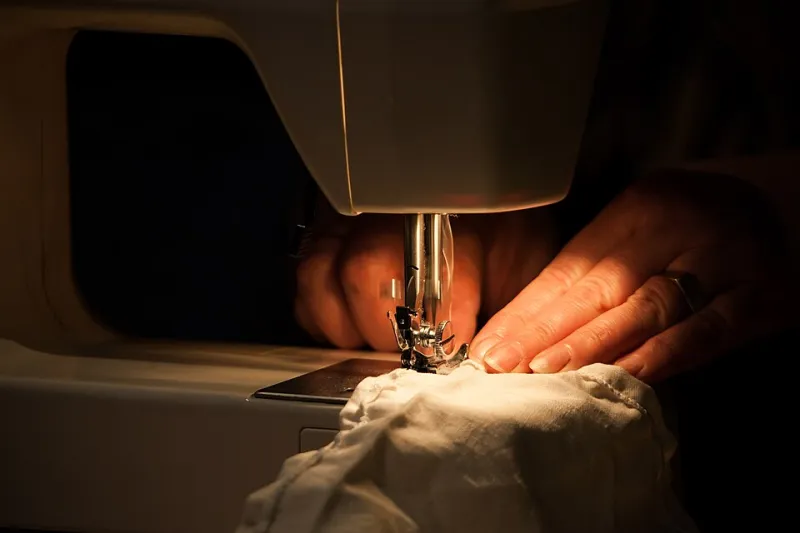
Fold each cuff piece in half along its length if your coat’s cuff is a folded double layer; otherwise work with the shape you traced. Join the short ends to make a tube, press the seam open, then pin the tube to the sleeve with right sides together. Match the cuff seam to the sleeve seam and ease any fullness gently. Sew with a 1 cm seam allowance, using a normal stitch length and a needle suited to wool.
Turn the cuff to the outside, press the seam allowance towards the sleeve, and fold the cuff into position. If the coat is lined, check whether you need to open a small section of the lining seam at the sleeve to access the cuff edge. Do this slowly. A cuff repair is not a race, and the inside of the sleeve is not the place to discover that you have sewn through three layers at once.
Finishing by hand, on purpose
Here is where the repair becomes intentional rather than invisible. Instead of trying to disguise every stitch, use a hand-finished detail to make the new cuff look like it belongs. A line of running stitch in a contrasting wool thread, worked 5 mm from the folded edge, gives a neat, deliberate border. A blanket stitch around the cuff edge can echo the felted texture and add a little strength. If you have patched a small worn spot nearby, a simple cross stitch or bar tack can tie the two together.
Slip stitch the inner edge of the cuff closed by hand. Keep your stitches small and even, but don’t aim for machine perfection. The point is a cuff that feels secure and looks considered — not one that pretends nothing ever happened.
Why this is a winter investment
A new coat is a big purchase. A donor scarf, a spool of thread and a packet of interfacing is a small one. More importantly, repairing the cuffs keeps the coat’s fit, its warmth and its familiarity. You are not just saving money; you are preserving the part of the garment that already works for your body and your daily life.
In Beccles, where a good coat gets used for the school run, the market, the walk along the Waveney and the inevitable damp Saturday, that practical kind of mending makes sense. A carefully transplanted cuff is not a compromise. It is a way of choosing the coat you already own.
Building the nerve
If you are new to this, practise on an old shirt sleeve first. Sew one sample cuff, unpick it if you hate it, and sew another. The confidence comes from the second attempt, not the first. Work on one cuff at a time, keep the old pieces until both new ones are finished, and give yourself permission to make a repair that looks handmade.
A coat with new wool at the wrist is not damaged goods. It is a coat that has been looked after — and that is a very Beccles sort of winter investment.