Out of the Drawer, Onto the Table: A Runner for the Cloth You've Been Saving
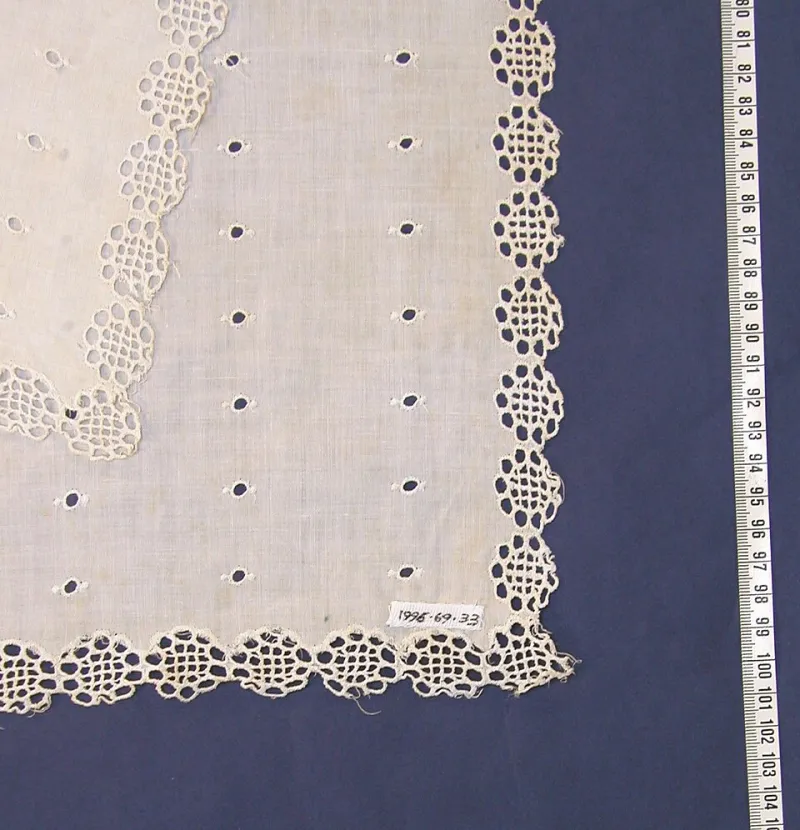
Photo: Bruce, Elsie, CC BY 4.0, via Wikimedia Commons
Late November in Beccles has a particular feel to it. The light has gone by half four, the Quay is quiet, and the evenings suddenly open up for the jobs we've been circling all year. For a lot of us, that job is the drawer.
You know the drawer. Inside it is a metre of something lovely — a length of linen from a textile fair, a piece that came down through the family, or cloth bought on a day out with the sincere intention of Making Something Special. It has been special-in-waiting for two years, or five, or long enough that you no longer remember what you paid.
A table runner is the least intimidating way to finally cut into it. It's small. It's flat. It doesn't have to fit a human body. And, crucially, it comes out every December and does a job — it sits under the gravy boat and the candlesticks and the third helping of sprouts. That's the test I'd apply to any festive sewing: would you still want it if nobody admired it?
Small enough to finish before the tinsel comes out
The trouble with 'someday' projects is that they're usually big. A coat. A quilt. A properly fitted dress. All of those are worth doing, and none of them are getting finished in the four weeks before Christmas.
A runner is a weekend. Arguably an afternoon, if you've pressed your cloth properly and haven't lost your marking chalk. It's the sort of thing you can cut out on a Saturday morning, leave half-sewn on the machine while you go and do something else, and finish on a Tuesday evening with the radio on. There's a lot to be said for a project whose entire lifespan is shorter than a supermarket mince pie season.
Choosing the cloth — and preparing it properly
Most runners want a medium-weight cloth that presses crisply and can take a hot wash: linen, linen-cotton union, a firm cotton damask, a good-weight cotton twill. Very lightweight cottons flop about and show every crease; very heavy upholstery weights are miserable to turn corners on.
Before you cut, do three things. Wash and dry the cloth the way you'd wash the finished runner — linen especially will shrink, and a runner that shrinks after Christmas dinner is a runner you'll resent. Press it flat while slightly damp. Then check the grain: snip into the selvedge an inch or so in and pull a single crosswise thread across the width. If it comes away cleanly in one go, your grain is straight and your corners will behave. If it snags and breaks, straighten the end with a long ruler and accept that you're working from a fresh line.
How big, exactly?
Measure your table properly rather than guessing. A runner should be somewhere between 35cm and 45cm wide — wide enough to look deliberate, narrow enough that people can still put a plate down. For length, take the table's length and add 25cm to 30cm of overhang at each end, then add 3cm seam allowance at each end and 2cm at each long edge (or more, if you're nervous).
Don't assume your table is square. Ours are rarely as true as we'd like, and an old drop-leaf can be a couple of centimetres out corner to corner. Cut to the measurement you took, not to the measurement you'd like.
Four mitred corners, no drama
Mitred corners look far more complicated than they are. The whole trick is pressing as you go, and not rushing the final seam.
- Press a 1cm turn along all four edges, then press again at 2cm, so your raw edge is enclosed.
- Unfold both pressed edges at one corner and, right sides together, fold the corner in diagonally so the two crease lines meet. Pin along the diagonal and sew from the inner crease intersection out to the point.
- Trim the seam to about 5mm, finger-press it open, and turn the corner through. You should get a neat diagonal fold with no bulk.
- Repeat at the other three corners, then topstitch all the way round, about 3mm in from the fold, pivoting at each corner with the needle down.
Topstitching is where a homemade runner either looks quietly expensive or slightly wonky. Use a fresh needle, a slightly longer stitch, and go slowly round the corners. If your machine has a needle-down setting, use it. If your machine has an edge-stitching foot, even better.
Napkins that don't fight for attention
The temptation once the runner is done is to make matching napkins, matching placemats and a matching cutlery roll, and then the table starts to look like a stall at a craft fair. Resist that.
One good thing, used well, reads as considered. Used seven times, it reads as a kit.
So: make napkins from a plain cloth, or from a cloth in the same family but a different scale — a fine stripe against a plain runner, or a soft neutral against a coloured one. Cut them 42cm square for everyday, 45cm for best. A 1cm double-turned hem, corners mitred if you're feeling tidy, is plenty. Six napkins is a generous set; twelve is a lifetime's worth and you'll be hemming until Epiphany.
If you have scraps left from the runner, use them for napkin rings — a simple folded band, stitched down — or for a small bread basket liner. Not for anything else. Let them go.
Looking after it, so it comes out again next year
A runner earns its place by surviving. Wash it cool, skip the fabric softener (it coats the fibres and flattens the handle of linen), and iron it while still slightly damp. Store it rolled around a cardboard tube rather than folded, so you don't open it next December to a road map of permanent creases.
And when January comes and you're packing it away, have a proper look at it. Is there a patch where a hot dish sat? Are the corners still crisp? A runner with a little honest wear on it is a better object than one that's never been used, and next year's version — if you make one — will be cut better, sewn straighter and finished faster.
That's the point of using the good cloth. Not that it stays perfect, but that it gets used.